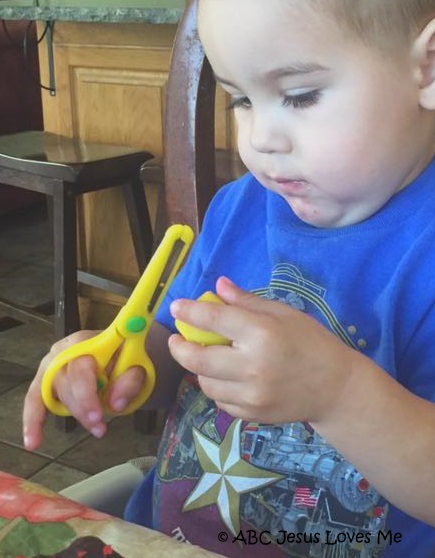
Teaching a child to use scissors may seem simple, but it actually involves several developmental skills. With the right tools, a few helpful tips, and some preparation, guiding a child to master cutting can become a smooth and enjoyable process. Here's how to make it easier for both of you!
Being able to cut with scissors requires fine motor to move the small muscles in your hand. It requires hand-eye coordination to move the scissors where the eyes want them to go. Operating a pair of scissors demands bilateral coordination which uses two sides of the body at the same time. That is a lot of development that needs to be fostered prior to putting a pair of scissors in a child’s hand.
There are two levels to using scissors.
1. Open and close motion
2. Cutting on a line
My kiddos had the hardest time getting the open and close motion. It went against nature to have to open the scissors back up. That is why it is so important to build those muscles. Some ideas are using a spray bottle, playing with clothespins, and using salad tongs.
The 1 and 2 Year ABCJesusLovesMe Preschool Curricula contain activities to prepare a child to use scissors. While the activities may seem petty to an adult, they are so important for development building.
There has been a lot of debate on the best scissors for children to use. And, specialty scissors have been invented to make the process easier for children. But I continually come back to the Fiskars Scissors. If you choose to use a different pair, be sure that they will cut and not simply fold paper. Also, make sure that the scissors are not too heavy for the child to hold. If the child is a leftie, be sure that the scissors can be used by both hands or are specific for a left-handed child.
Just as there is a process to teach a child to read which begins before a child knows any phonetic sounds, there is a progression to help the child be successful in using scissors.
Begin by cutting items like “snakes” of play dough (introduced in the 2 Year Curriculum). This simple process allows the child to focus solely on closing and opening the blades. For a little more difficulty, have the child cut drinking straws.
Next move to narrow paper strips. Use foam or thick paper which won’t bend as easily as the child holds it. The narrow strips again allow for a single open/close motion.
When the child has mastered the open/close motion, move to straight lines, circles/spirals, and then simple shapes.
Here are a few tips you can do to help the child be successful.
Thumbs Up
Place a sticker or draw a smiley face on the child’s thumbnails to provide a visual cue.
Assisting Hand
Teach the child to hold the paper with their non-dominant hand. Do not lay the paper on a table and attempt to cut.
Keep the Elbow Tucked In
The elbow should stay tucked into the body. If the elbow comes away from the body, the child needs to rotate the paper he is cutting.
Alligator Mouth
It may help to give the child the imagery of an alligator or shark eating or "chomping" the paper. Open mouth. Swim forward. Close mouth to eat or chomp.
Safety First
Begin with the end in mind by teaching safety. Teach the child to always face the scissors away from the body. Never run with scissors and always point the end of the scissors toward the floor.
I find it best to sit behind the child as they cut. With my hand over theirs, I help them open, move, and close the scissors. This works even if the child has the opposite dominant hand than yours. As the child cuts, say, “open,” "move" or "swim.," and “close” or "chomp" to help the child understand the process.
Keeping the child safe is of utmost importance. Never leave a child alone with scissors or leave scissors out where a child can get to them.
Because bad habits are incredibly hard to fix, don’t allow the child to cut incorrectly. Begin with the end in mind. And when you see the child getting frustrated, take breaks and try again later.
Last but not least, encourage the child. While using scissors is second nature for you, it is incredibly difficult for most children. Sympathize with the child by saying, “This is difficult, but I love how you are working hard.”
If your child is under the age of 2 1/2, work on fine motor activities. The 1 and 2 Year Curricula contains weekly ideas to build the child’s hand strength. These activities build to increase strength.
If the child is 2 or above and unable to open and close the scissors, have fun with a variety of fine motor activities to strengthen the hand. If you are not seeing improvements, talk to your pediatrician or have an Occupational Therapy evaluation done.
If your child has mastered opening and closing the scissors, cut, cut, and cut. The ABCJLM Curriculum will provide age-appropriate activities to lead you though this process.
Tips: Teach the child to cut in the middle of the black line. Dominant hand does the cutting while the other hand moves the paper. Elbows should not point out while cutting. If this happens, the paper needs to be moved. Additional worksheets are available in the ABCJLM Visual Perception Workbook.