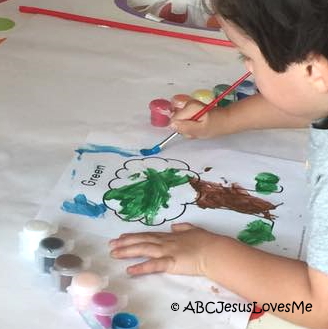
Explore a collection of crafts and activities designed to help young children learn about the seven days of Creation in a hands-on way. From light and water to plants, animals, and the day of rest, these creative ideas offer fun ways to explore each part of God’s creation. Scroll down to find engaging projects that bring the Creation story to life for little learners.
image by adriana
All Printables Free for Immediate Family Use or with a Current License Only
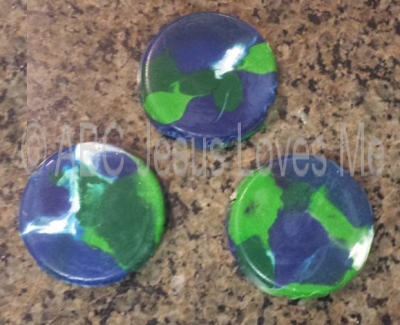
Gather green, white, and blue crayons. (If possible, use a couple shades of green and blue crayons.) Remove the paper and break the crayons into small pieces. Fill muffin tin cups halfway full with a mixture of the broken crayons. Place the crayons in a 250 degree oven and wait. Because different brands of crayons are made of different ingredients, the crayons will melt at varying speeds. Remove the tin and allow the crayons to cool. The crayon material contracts as it gets cold making the new crayons easy to pop out of the muffin tin. Read more...
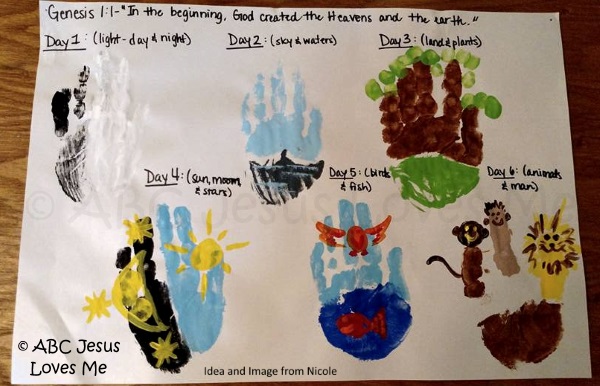
Day 1 - Paint half the hand white and the other half black
Day 2 - Paint the bottom half of the hand dark blue and the top half light blue
Day 3 - Paint the bottom half of the hand green and the top half brown. Add "leaves" with fingerprints at the top.
Day 4 - Paint half the hand black and the other half light blue. Add sun, moon, and stars on top of the print.
Day 5 - Paint the bottom half of the hand dark blue and the top half light blue. Add a fish in the dark blue and a bird in the light blue.
Day 6 - Paint the bottom half of the hand brown and the top half white. Draw the fingers to look like animals and people.
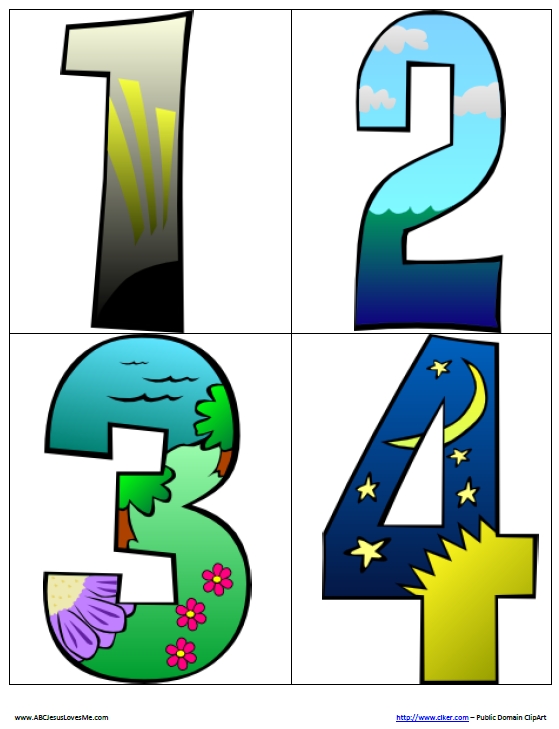
Print the Creation Number Flashcards and use to introduce each day of creation, help in memory, or place in order of events.
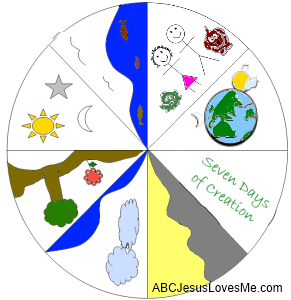
Print the black and white creation wheel template on cardstock and then cut out the circle. Add a title to the empty segment. Color the pictures. Using construction paper, trace and cut out a second circle the same size. Cut out a “pie” segment from the second circle that is slightly smaller than one segment on the first circle. Make sure not to cut all the way into the center. Insert a brad (paper fastener) into the center of both circles with the second circle on top. Review the creation story by turning the top wheel to expose the pictures below. You can also create your own wheel by cutting two circles and drawing or using stickers for the 7 days of creation.
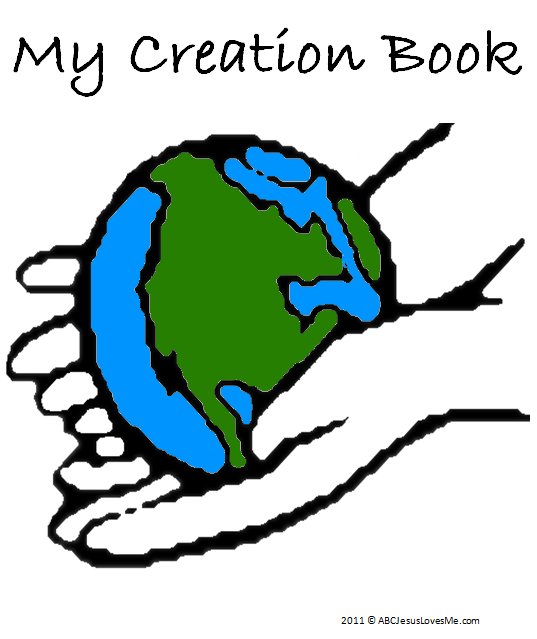
Color the My Creation Book title page and decorate the "Day" pages. Staple or bind all of the "Day" pages together to form a book. Review the Bible stories as you look through the finished book.
ABCJesusLovesMe Bible Coloring Sheets for Home Use or License Owners: Day 1, Day 2, Day 3, Day 4, Day 5, Day 6, Day 7
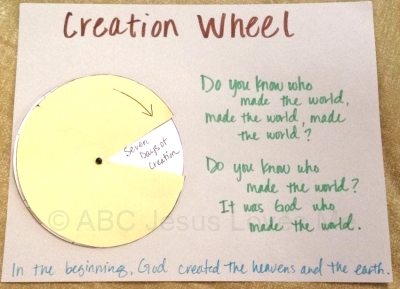
Combine the Creation Wheel (above) with a Creation Song, and Creation verse on a poster.
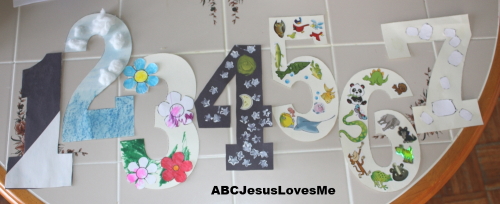
Create large numbers using the Number Posters 1-7 from the 3 Year Workbook. Decorate with stickers and images to represent each day of Creation.
Day 1 - Black & white construction paper to resemble God separating light from dark.
Day 2 - Use blue pastels to color the number two, and then glue on a few cotton balls for clouds.
Day 3 - Glue flowers on the number.
Day 4 - Cut the four using black construction paper. Add stars using a stamp dipped in white paint. A thumb print in yellow paint will create a sun. Draw a moon or use a sticker.
Day 5 and 6 - Chose appropriate stickers to put on each of these numbers. Day 5 -birds and fish. Day 6 - other animals.
Day 7 - Glue clouds on the number to resemble God 'resting'.
Are you ready to embark on an incredible journey of faith and discovery with your child or students? Look no further! Our Old and New Testament Curriculum Bundle is the perfect companion for home, preschool, or church Sunday School or mid-week meeting Bible learning. It's time to immerse your little ones in the enriching world of biblical stories and truth.
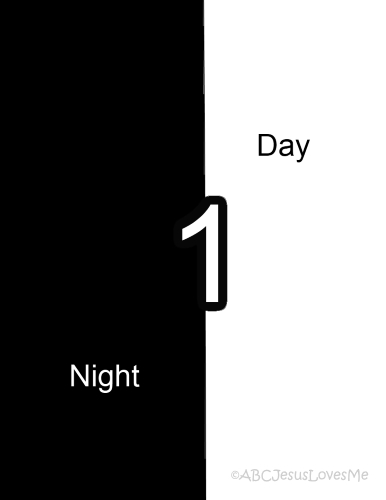
Use a piece of black construction paper as the background. Cut a piece of white construction paper in half. Glue the half white sheet vertically on the black sheet. Write "Day" on the white piece and "Night" on the black. Add the number "1" to the page.
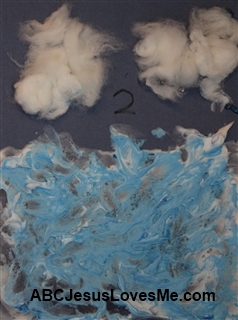
Use a piece of blue construction paper. Add cotton balls in the sky for clouds. Make waves with shaving cream and blue paint at the bottom. Add the number "2" to the page.
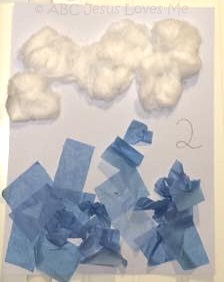
Use a piece of blue construction paper. Add cotton balls in the sky for clouds. Glue waves made with blue tissue paper. Add the number "2" to the page.
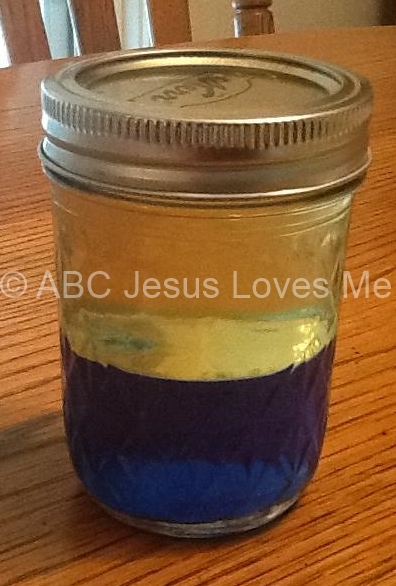
Take a small glass jar and fill it half way with water. Add enough blue food coloring to make it a beautiful blue. Then fill the rest with oil (any oil will do but I used vegetable oil because it is less expensive). Put a lid on the jar. Use this to demonstrate Day 2 of Creation when God separated the water from the sky.
Move the jar around to create waves (the water will always be beneath the oil). Shake the jar and then leave it for about 15 minutes and it will separate again. Discuss how water is always separate from the sky. Reminder: The glass jar and liquid ingredients are not a toy.
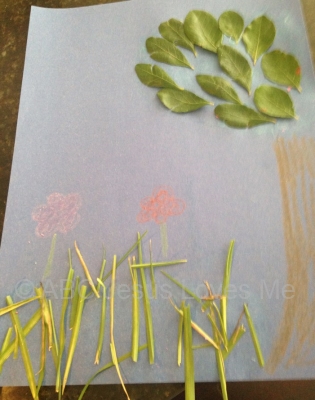
Draw a tree trunk on a piece of construction paper. Glue small leaves above the trunk. Glue pieces of grass at the bottom. Draw flowers above the grass.
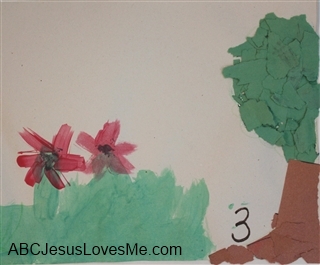
On a piece of construction paper, add grass, tress, and plants. Use stickers, die cuts, or paint the "plants." Add the number "3" to the page.
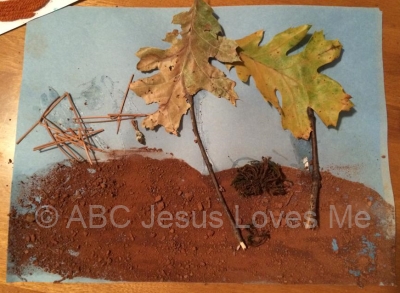
Spread glue on the bottom half of a sheet of construction paper. Sprinkle on dirt. Glue small sticks and leaves to create trees. Glue grass above the dirt.
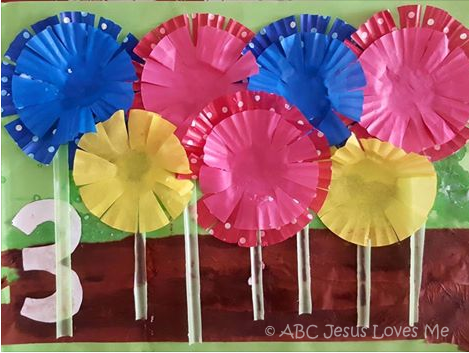
Glue tissue paper to the bottom part of the part to create the earth. Cut muffin liners to look like flowers. Cut drinking straws for the stems.
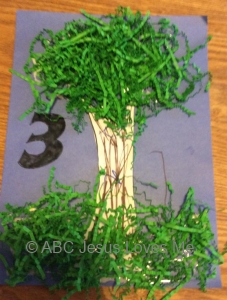
Draw a tree and decorate with Easter grass or green paper shred.
Discover a variety of holiday activities that keep Jesus at the heart of your celebrations! From crafts to family traditions, these ideas will help you create meaningful moments for your family or classroom that focus on the true reason for the season.
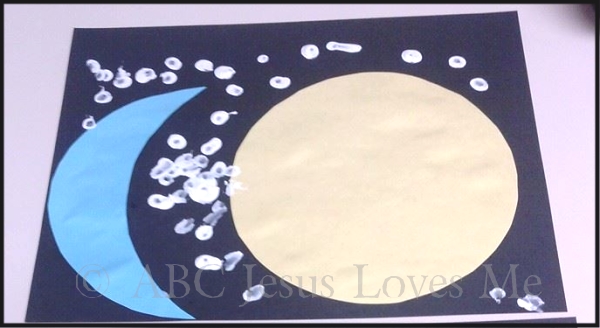
Using the Sun, Moon, Stars template, cut the shapes out of appropriately colored paper. Instead of using the stars, instruct the child to dab white paint with q-tips on the image to create stars. This is an excellent activity to work the child's pincer grasp.
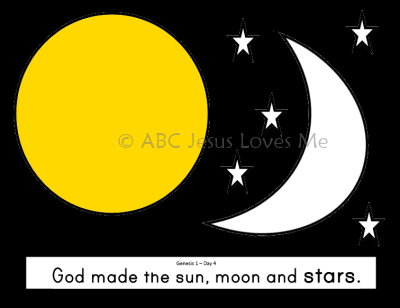
Using the Sun, Moon, Stars template, cut the shapes out of appropriately colored paper. Using a piece of black construction paper as the background, glue the sun and moon in the sky. Place the stars around the moon. Add the phrase "God made the sun, moon and stars" at the bottom of the page. Add the number "4" to the page.
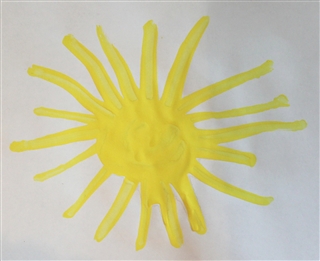
Place a dollop of yellow paint on a piece of paper. Using a q-tip, popsicle stick or the child's finger, pull the paint away to make sun rays.
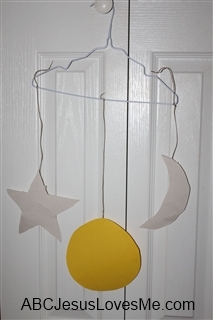
Cut the shapes from the Sun, Moon, Star Mobile out of appropriately colored paper. Add a string to the cut outs and hang to create a mobile.
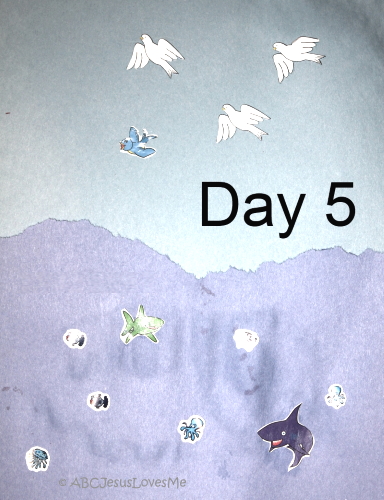
On a light blue piece of construction paper place a bird in the sky. Add a darker blue half sheet to the bottom of the background piece for water. Add a fish to this section. Add the number "5" to the page.
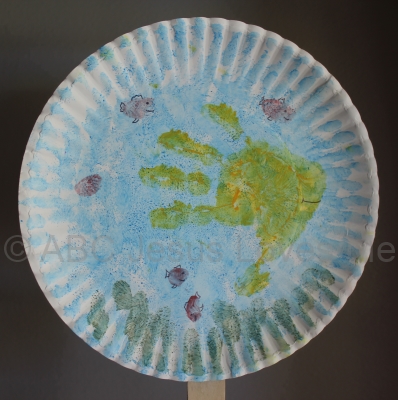
Sponge paint a paper plate light blue. Paint the child's hand and stamp on the plate to form a fish. Wash the child's hand. Paint a finger tip green and stamp at the bottom of the plate to make green plants. End by stamping red fingerprints to create little fish. Using a black marker add fins, a tail, eye, and mouth on the little fish. Add an eye and mouth to the big fish.
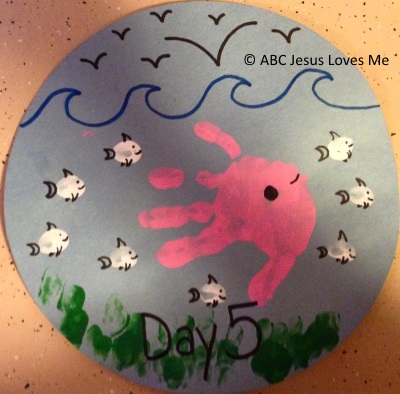
Cut a large circle from blue construction paper. Paint the child's hand and stamp on the plate to form a fish. Wash the child's hand. Paint a fingertip green and stamp at the bottom of the plate to make green plants. End by stamping white fingerprints to create little fish. Using a black marker add fins, a tail, eye, and mouth on the little fish, birds, and waves. Add an eye and mouth to the big fish.
Turn tears into smiles with the unique ABCJesusLovesMe Handwriting Curriculum. The key to successful penmanship is in the process - a process where each level is a building block for the next. Ideal for both classroom or home use, prepare the child for a lifetime of beautiful penmanship.
With a piece of construction paper as the background, add stickers or pictures of zoo animals. May also glue on animal crackers. Add the number "6" to the page.
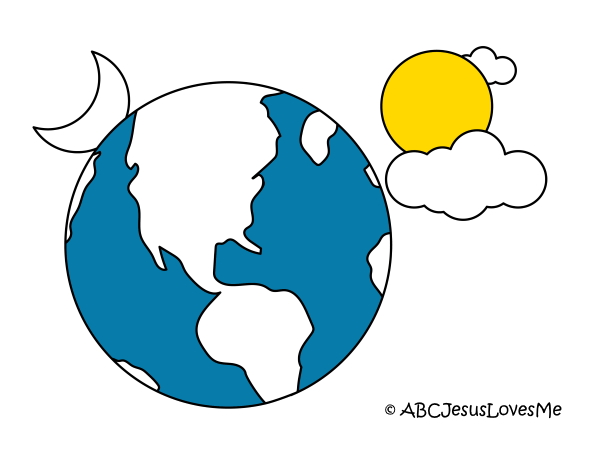
This sheet is available to order in the Bible Activity Workbook
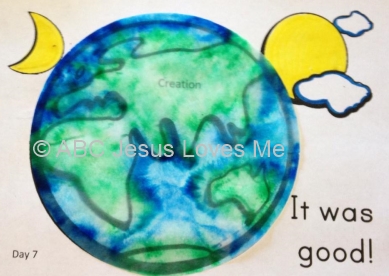
Lay a coffee filter over the Day 7 coloring sheet and trace it with blue and green washable markers. Spray water on the coffee filter or use a medicine dropper to drip water on the coffee filter to cause the colors to run together. Allow to dry. Glue on top of the Day 7 coloring sheet.
Make a collage of all that God created. Add the number "7" on the page.
Available in the Old Testament Curriculum as well as the 1, 2, 3, 4, 5 Year Curricula.